Welcome back to our practical Wicket tutorial series. I apologize for long break after last post (shame on me as it was published more than 1,5 month ago) but I had many unplanned things with higher priority: Wicket demo appplication on 33rdDegree conference to prepare, a conference itself and most time-consuming one, I damaged knee ligament during football match and after that everyday for three weeks I was driving to the hospital for rehabilitation so day became too short to write something here. But now everything seems to be ok and I have some spare time to continue Wicket tutorial subject.
Today we will add two new features: editing and removing locations from our application. Currently we don’t have any items connected with locations so deleting shouldn’t be too complicated. Later on, when we add some items, we will have to rework this functionality but now it shouldn’t bother us too much.
Editing locations
To edit location we should first add link to the LocationsPage redirecting user to edit page:
|
1 2 3 4 5 6 7 8 9 10 11 12 |
<table> <tr> <th>ID</th><th>Name</th><th>Actions</th> <!-- new header column --> </tr> <span wicket:id="locations"> <tr> <td><span wicket:id="id"></span></td> <td><span wicket:id="name"></span></td> <td><a href wicket:id="editLocationLink">Edit</a></td> <!-- this is new --> </tr> </span> </table> |
In the corresponding Java class we add link to edit page:
|
1 2 3 4 5 6 7 8 9 10 11 12 13 14 15 16 |
ListView<Location> locations = new ListView<Location>("locations", createModelForLocations()) { @Override protected void populateItem(final ListItem<Location> item) { item.add(new Label("id", new PropertyModel<Location>(item.getModel(), "id"))); item.add(new Label("name", new PropertyModel<Location>(item.getModel(), "name"))); Link<BasePage> editLocationLink = new Link<BasePage>("editLocationLink") { @Override public void onClick() { setResponsePage(new AddEditLocationPage(item.getModelObject().getId())); } }; item.add(editLocationLink); } }; |
Careful reader might notice that we have new class here, AddEditLocationPage. But it’s just old renamed AddLocationPage after some refactoring to reuse it for both creating new and editing existing locations. As in the code listing above, we are passing Id of location to the constructor to inform which object we are going to edit.
Refactoring AddLocationPage to AddEditLocationPage
Apart from renaming both Java and HTML files we have to introduce some major changes to this Java class.
First we add constructor taking id as a parameter:
|
1 2 3 4 5 |
public AddEditLocationPage(Long locationId) { Location location = locationService.findById(locationId); setDefaultModel(new Model<Location>(location)); initGui(); } |
setDefaultModel will enable other components from the page to use loaded location as a source of rendered data. After this, to be consistent we change constructor for new locations too:
|
1 2 3 4 |
public AddEditLocationPage() { setDefaultModel(new Model<Location>(new Location())); initGui(); } |
After these changes initGui() method needs some tweaks because it should use data from default page model and not from String name field:
|
1 2 3 4 5 6 7 8 9 10 11 12 13 14 15 16 17 18 19 20 21 22 23 24 25 26 27 28 29 30 31 32 33 34 35 36 37 38 39 40 41 42 43 44 45 46 47 48 49 50 51 52 53 54 55 56 57 |
private void initGui() { Form<Location> addLocationForm = new Form<Location>("addLocationForm", new CompoundPropertyModel<Location>(getDefaultModel())); // (1) add(addLocationForm); Label nameLabel = new Label("nameLabel", "Location name"); addLocationForm.add(nameLabel); addLocationForm.add(createLabelFieldWithValidation()); // (2) Button submitButton = new Button("submitButton") { @Override public void onSubmit() { Location location = getLocationFromPageModel(); // (3) if(location.isNew()) { // (4) locationService.save(location); getSession().info("Location added successfully"); } else { locationService.update(location); getSession().info("Location updated successfully"); } setResponsePage(LocationsPage.class); } }; addLocationForm.add(submitButton); } private RequiredTextField<String> createLabelFieldWithValidation() { // (5) RequiredTextField<String> nameField = new RequiredTextField<String>("name"); nameField.setLabel(new Model<String>("Name")); nameField.add(LengthBetweenValidator.lengthBetween(MIN_LOCATION_NAME_LENGTH, MAX_LOCATION_NAME_LENGTH)); nameField.add(createUniqueLocationNameValidator()); // (6) return nameField; } private UniqueEntityValidator<String> createUniqueLocationNameValidator() { // (7) UniqueEntityValidator<String> locationNameValidator = null; if(getLocationFromPageModel().isNew()) { locationNameValidator = new UniqueEntityValidator<String>(locationDao, "name"); } else { locationNameValidator = new UniqueEntityValidator<String>(locationDao, getLocationFromPageModel().getId(), "name"); // (8) } return locationNameValidator; } @SuppressWarnings("unchecked") private Location getLocationFromPageModel() { // (9) return (Location) getDefaultModel().getObject(); } |
This code listing needs some explanation:
In (1) we are changing model of Form to use default model from parent page so we could load data from existing or new (just created) location.
Then in (2) extracted method createLabelFieldWithValidation() is invoked and inside it (5) input field component is created and (more important) proper validator is assigned to this input field (6).
The way how validator is created (7) depends on whether we edit existing location and our unique name check should not create an error if the same location with the same name is found (8) or we just create new location and any existing location with the same name should prevent application from creating a new one. In this method we use helper method (9) extracting Location from page model.
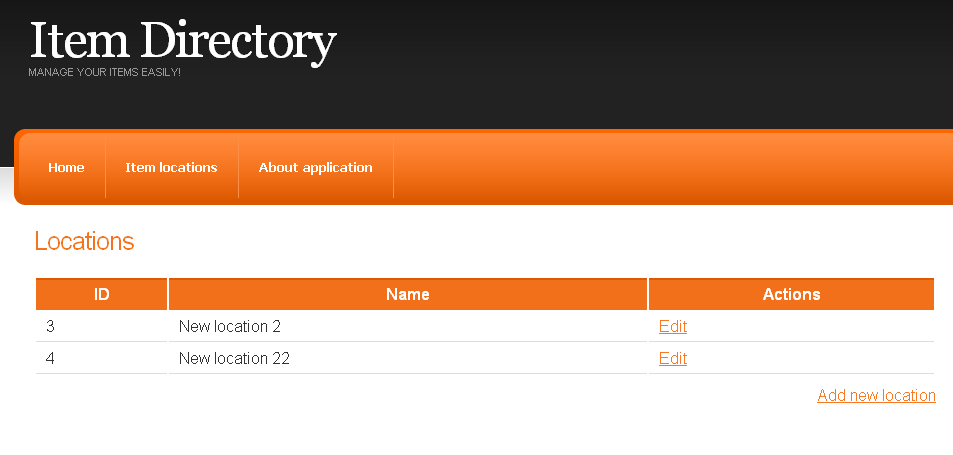
Ok. that’s everything we have to do to add edit feature. We now can edit and add new locations as shown on the screen shot below.
Removing locations
To start adding this feature we place another link in the LocationsPage HTML file (next to Edit one) and add link to Java class:
|
1 2 3 4 5 6 7 8 9 10 11 12 13 14 15 16 17 |
ListView<Location> locations = new ListView<Location>("locations", createModelForLocations()) { @Override protected void populateItem(final ListItem<Location> item) { item.add(new Label("id", new PropertyModel<Location>(item.getModel(), "id"))); item.add(new Label("name", new PropertyModel<Location>(item.getModel(), "name"))); Link<BasePage> editLocationLink = new Link<BasePage>("editLocationLink") { @Override public void onClick() { setResponsePage(new AddEditLocationPage(item.getModelObject().getId())); } }; item.add(editLocationLink); item.add(new RemoveLocationLink("removeLocationLink", item.getModelObject())); // new remove link component } }; |
And because we know that in the future logic for removing location will be more complicated, it will be easier to change it if we create remove location link as a separate class:
|
1 2 3 4 5 6 7 8 9 10 11 12 13 14 15 16 17 18 19 20 21 |
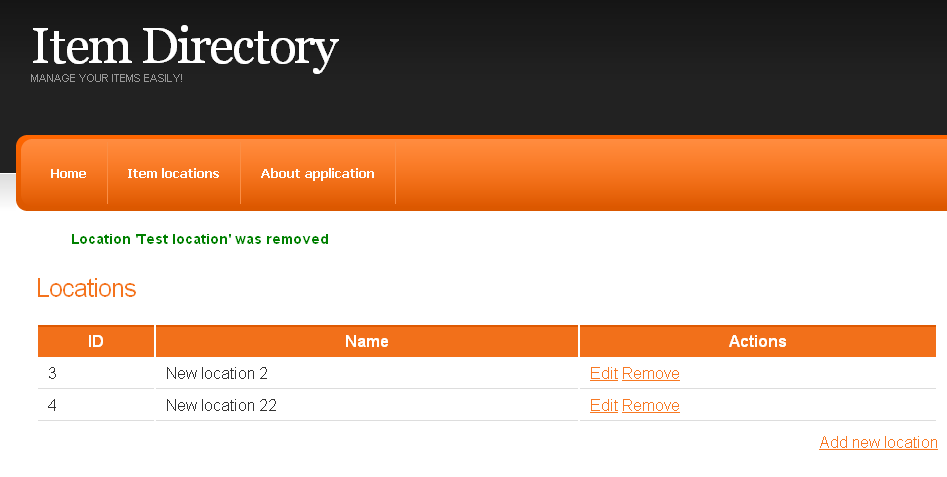
public class RemoveLocationLink extends Link<Void> { @SpringBean LocationService locationService; private final Location location; public RemoveLocationLink(String componentId, Location location) { super(componentId); this.location = location; } @Override public void onClick() { locationService.remove(location); getSession().info("Location '" + location.getName() + "' was removed"); setResponsePage(LocationsPage.class); } } |
We are almost done. The last thing we need to change is method in service class responsible for removing entity. Without this change we will be trying to delete detached entity so we should use removeSafely() method instead of remove():
|
1 2 3 4 5 6 7 8 9 10 11 12 13 |
public class LocationServiceImpl implements LocationService { @Autowired private LocationDao locationDao; // (..) public void remove(Location location) { locationDao.removeSafely(location); } // (...) } |
which is implemented in AbstractDAO class:
|
1 2 3 4 |
public void removeSafely(EntityClass entity) { getEntityManager().remove( getEntityManager().getReference(getClazz(), entity.getId())); } |
After this small change application is ready for tests and we can check that everything works just fine.
Summary
That’s all for today. Latest source code is available here next to both changesets to view and analyse (editing location and removing location). Thank you for you time and as always, any comments, suggestions, etc are welcome 🙂
Next episode will be released in a week or two maximum, so stay tuned!
